GPI is developed at the BNI on Mac and Linux platforms. We typically don't develop our MR methods on Windows and therefore have limited experience with this. Fortunately, the nice folks at Philips who develop in GPI have taken it upon themselves to forge a path. These instructions represent a first step onto the Windows platform, so we are interested in getting feedback about your experience with this. Let us know at gpi@gpilab.com.
-- Nick Zwart
This is a quick step by step guide for getting GPI installed for native use on Windows! This capability is made possible through the new "Windows Subsystem for Linux". The guide starts with the installation and verification of Ubuntu Linux and then provides steps for installing GPI. This is an exciting step forward for GPI users and developers.
Installing the Linux Bash Shell on Windows
Ensure you are running the right Windows 10 version
- You have to have the 64-bit build of Windows 10
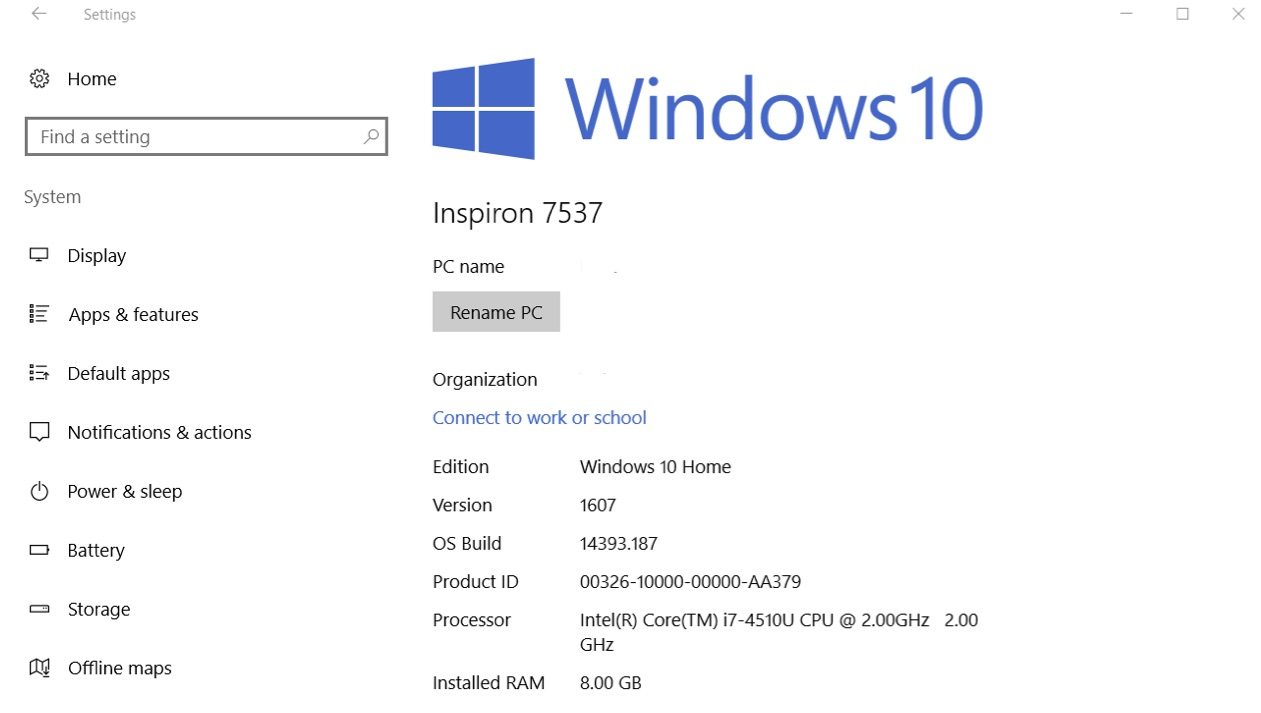
- You should have the Windows 10 anniversary update or higher. To check the version type “About your PC” in the start menu and press “Enter”. Version should be 1607 or higher (shown in the about window below)
Enable developer mode
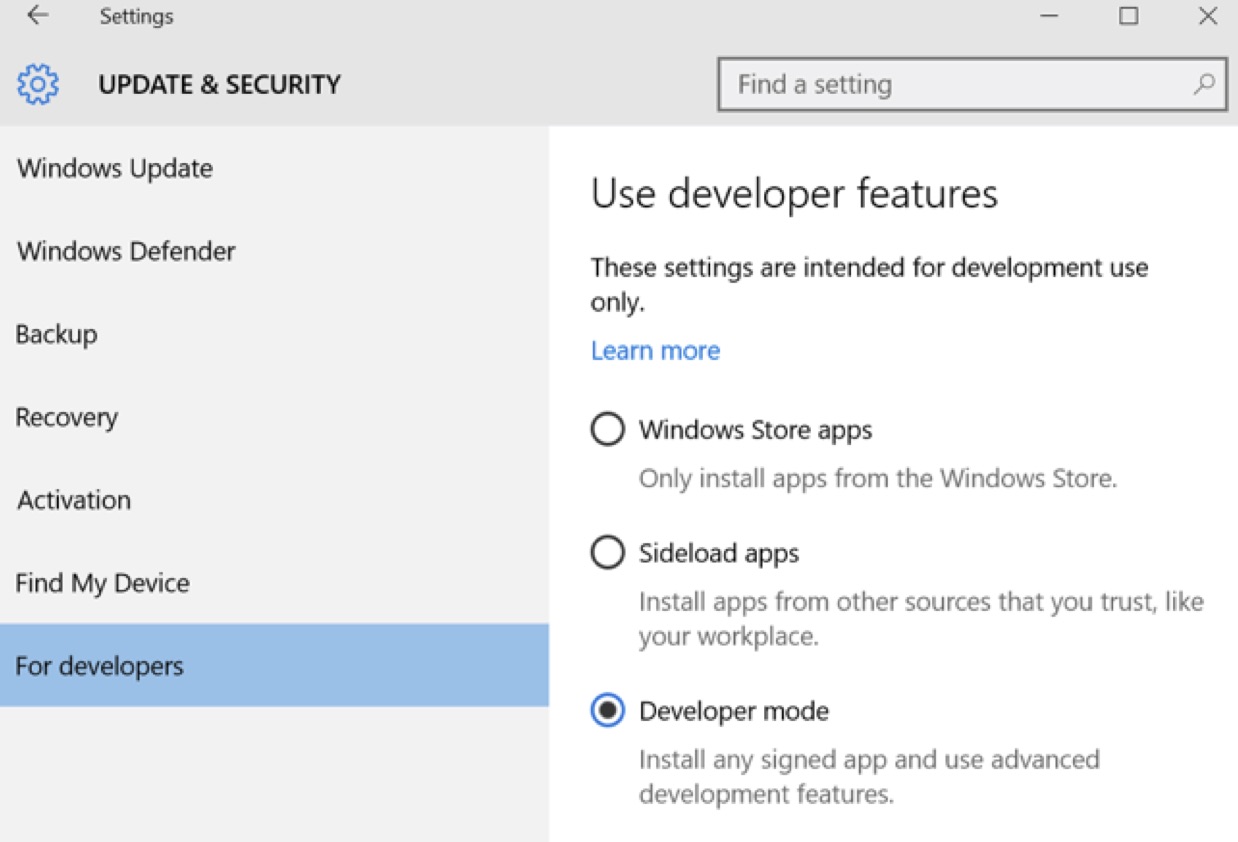
- Open the Settings app and head to Update & Security > For Developers
- Enable Developer Mode
Enable the “Windows Subsystem for Linux (Beta)”
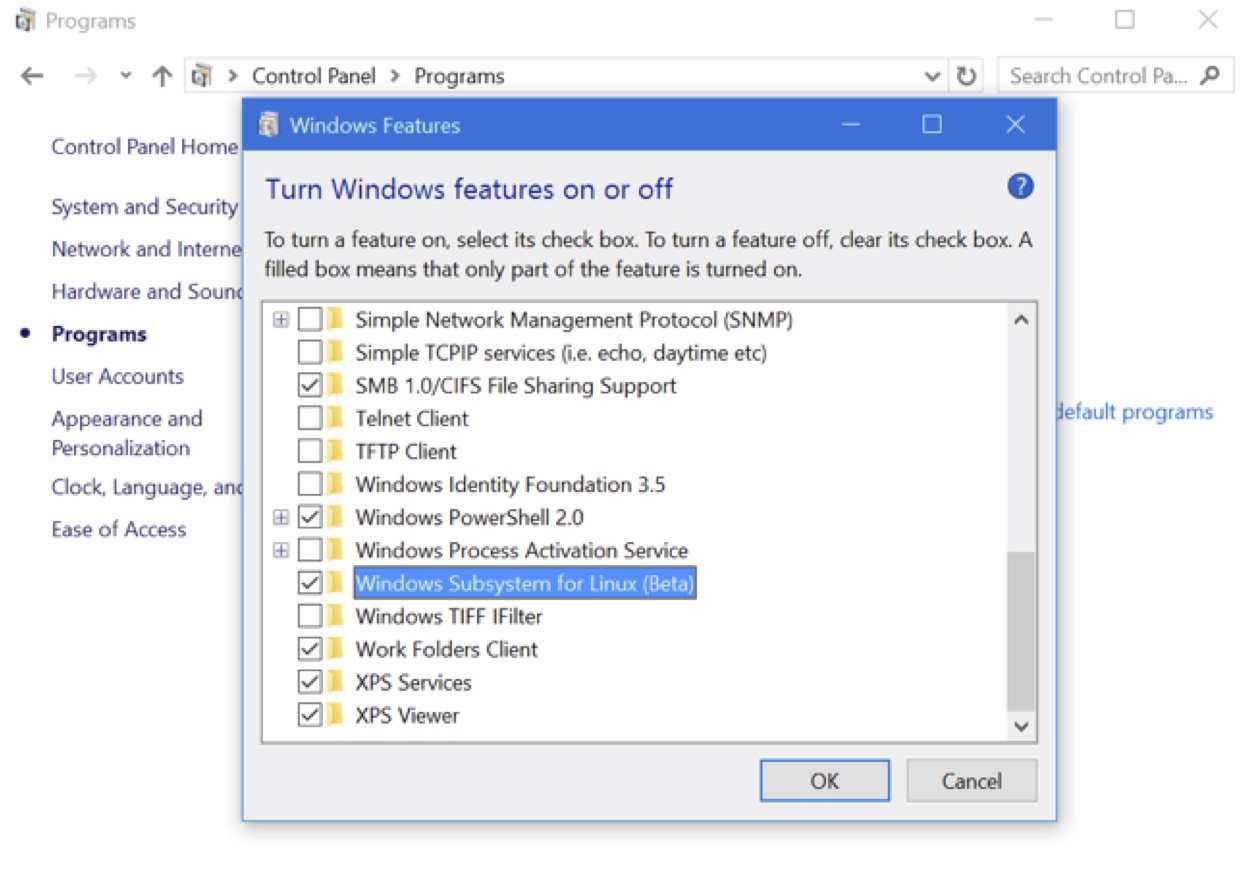
- Open the Control Panel, click “Programs,” and click “Turn Windows Features On or Off”
- Enable the “Windows Subsystem for Linux (Beta)” option in the list here and click “OK.”
- After you do, you’ll be prompted to reboot your computer. Click “Restart Now” to reboot your computer and Windows 10 will install the new feature.
Install
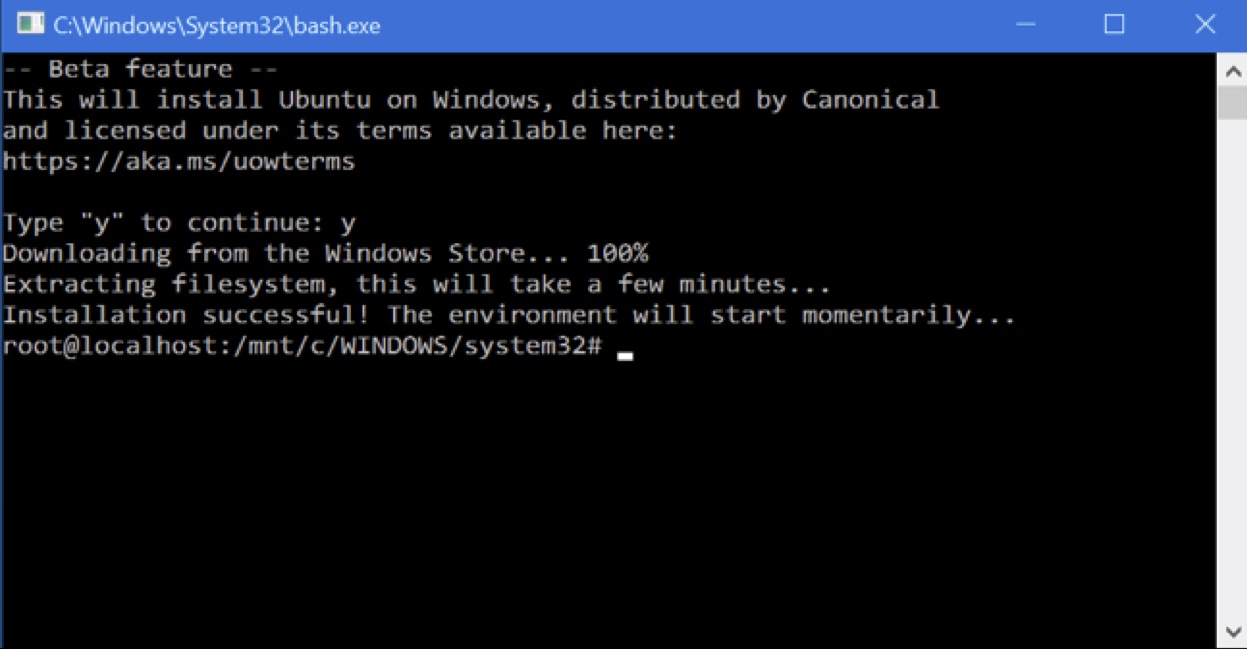
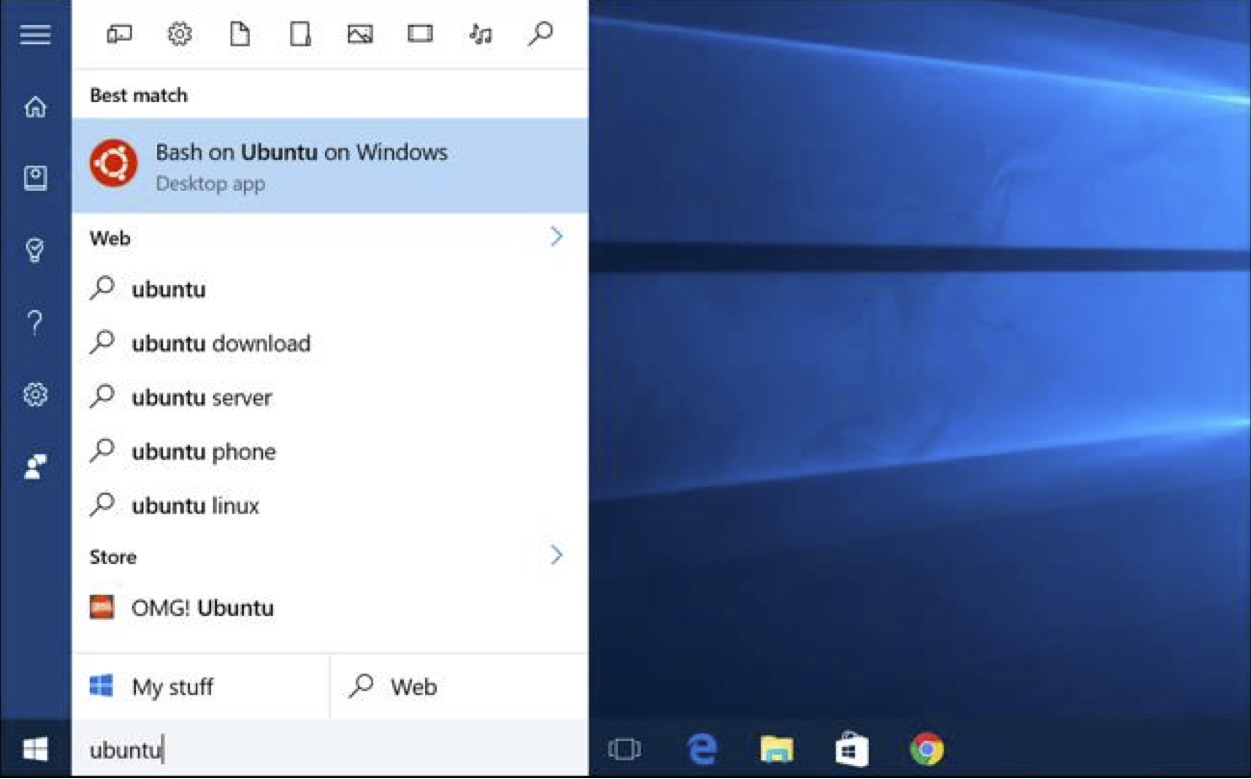
- After your computer restarts, click the Start button (or press the Windows key), type “bash”, and press “Enter.”
- The first time you run the bash.exe file, you’ll be prompted to accept the terms of service.
- The command will then download the “Bash on Ubuntu on Windows” application from the Windows Store.
- You’ll be asked to create a user account and password for use in the Bash environment.
Run the bash shell
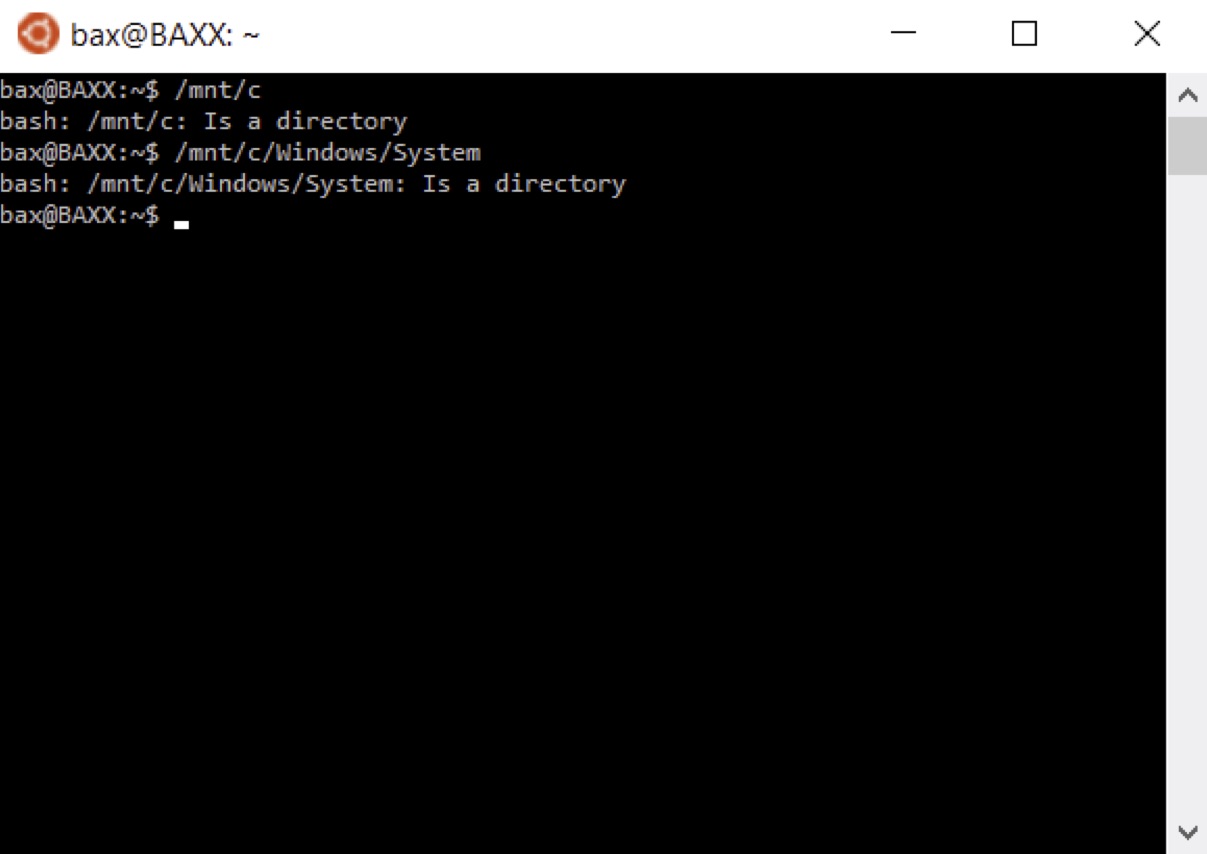
- Now you have a full command-line bash shell based on Ubuntu.
- To open the Bash shell, just open your Start menu and search for “bash” or “Ubuntu.”
Some tips (Installing packages and accessing windows dirs.)
- You can use Ubuntu’s apt-get command to install software from Ubuntu’s repositories.
- Install an Application Package: sudo apt-get install packagename (Replace “packagename” with the package’s name.)
- Windows drives will be available in the “mnt” folder
Enable GUI app support for Linux Shell
Microsoft still does not support graphical applications in Bash on Windows. However, Microsoft built an entire “Windows Subsystem for Linux” that allows Windows 10 to natively run Linux applications, even graphical ones. The only missing piece is an X server that allows those graphical applications to appear on your Windows desktop. This is basically the same technique people would use to run graphical Linux desktop applications over a network. Please note: Not all Linux GUI applications might work with this, but it works for most, and it works great with GPI.
Download and install “Xming X server” for windows
- The installer is available here: https://sourceforge.net/projects/xming/
- Download and install it on your Windows 10 PC
- Just use the default settings and it’ll work fine
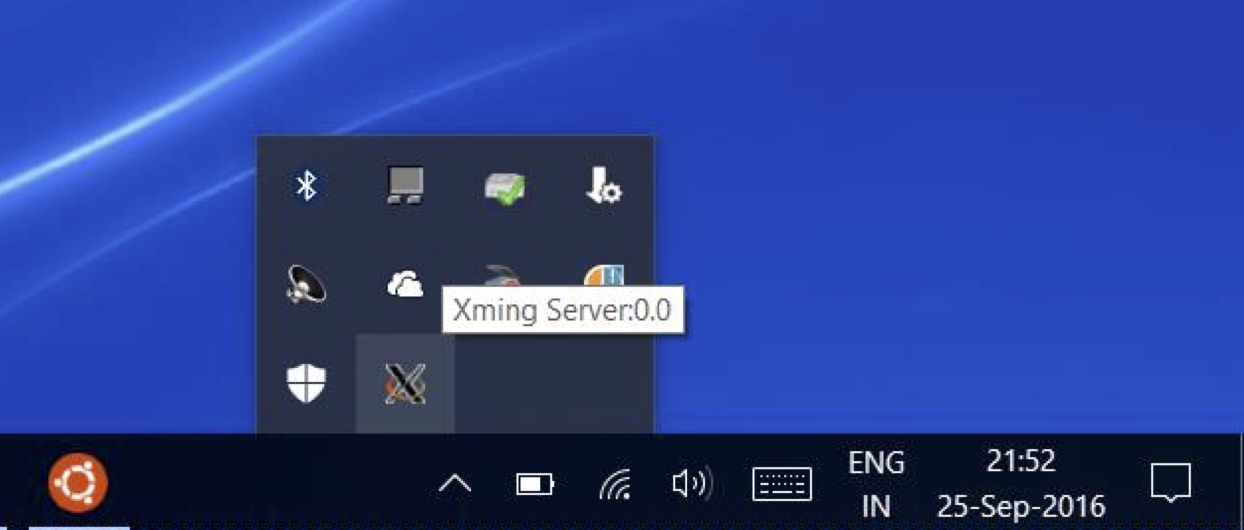
- Launch Xming and it will appear in your system tray, running in the background and waiting for you to launch a graphical Linux program.
Try a graphical application
-
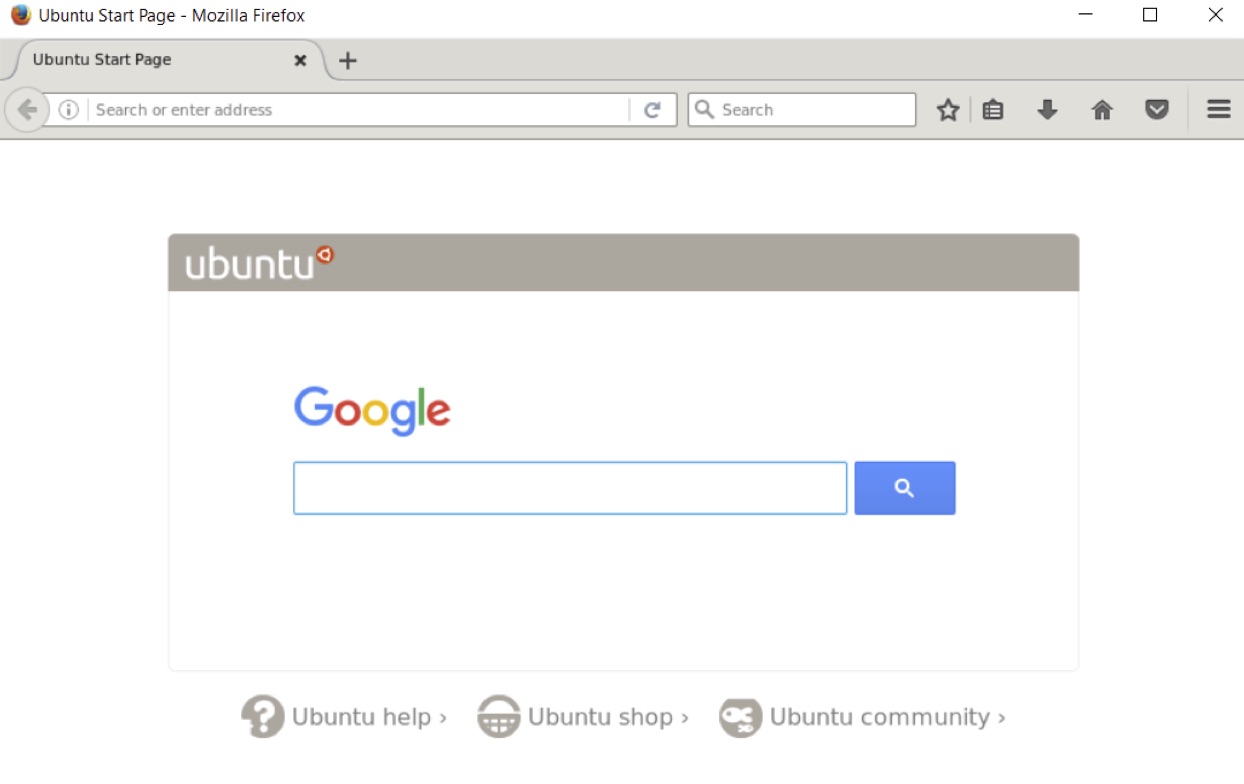
Install Firefox using below command
sudo apt-get install firefox -
After installation launch Firefox using the below commands
export DISPLAY=:0
firefox
Install Anaconda
-
In Firefox launched above, download the Linux installer from here
-
Run below command
bash ~/Downloads/Anaconda3-4.1.1-Linux-x86_64.sh -
Select a location to install
- Accept the option to add the Anaconda directory to your bash shell
PATHenvironment variable
Verify the Install
- Navigate to the Anaconda folder
- Check that python 3.x is installed in the packages
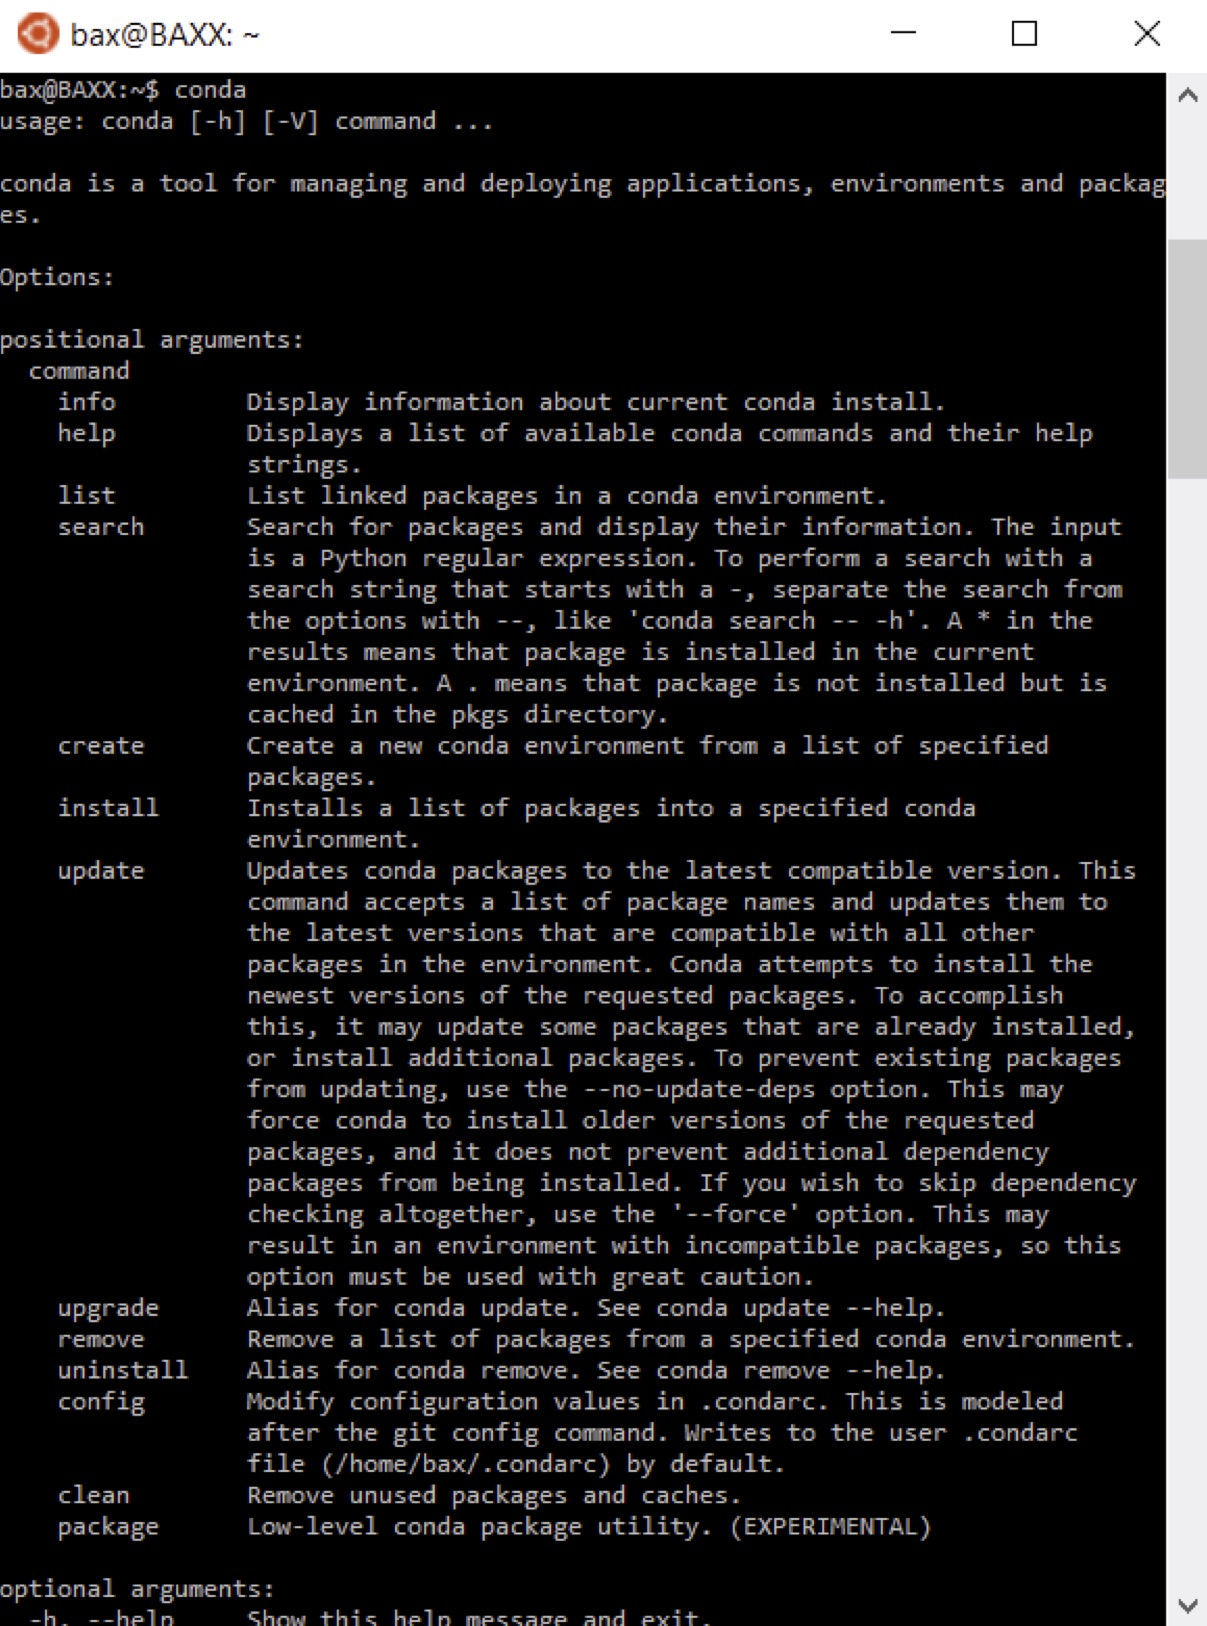
- Check if conda is also available
Install GPI via Conda
-
Run the below command
conda install -c https://conda.anaconda.org/GPI gpi -
If you get the below errors, follow the sub steps

- This error is also shown if higher versions of numpy and python are installed
- Remove the bottleneck package using below command conda remove bottleneck
- Repeat step a to install GPI
-
Also install any other packages like core nodes
conda install -c https://conda.anaconda.org/GPI gpi-core-nodes -
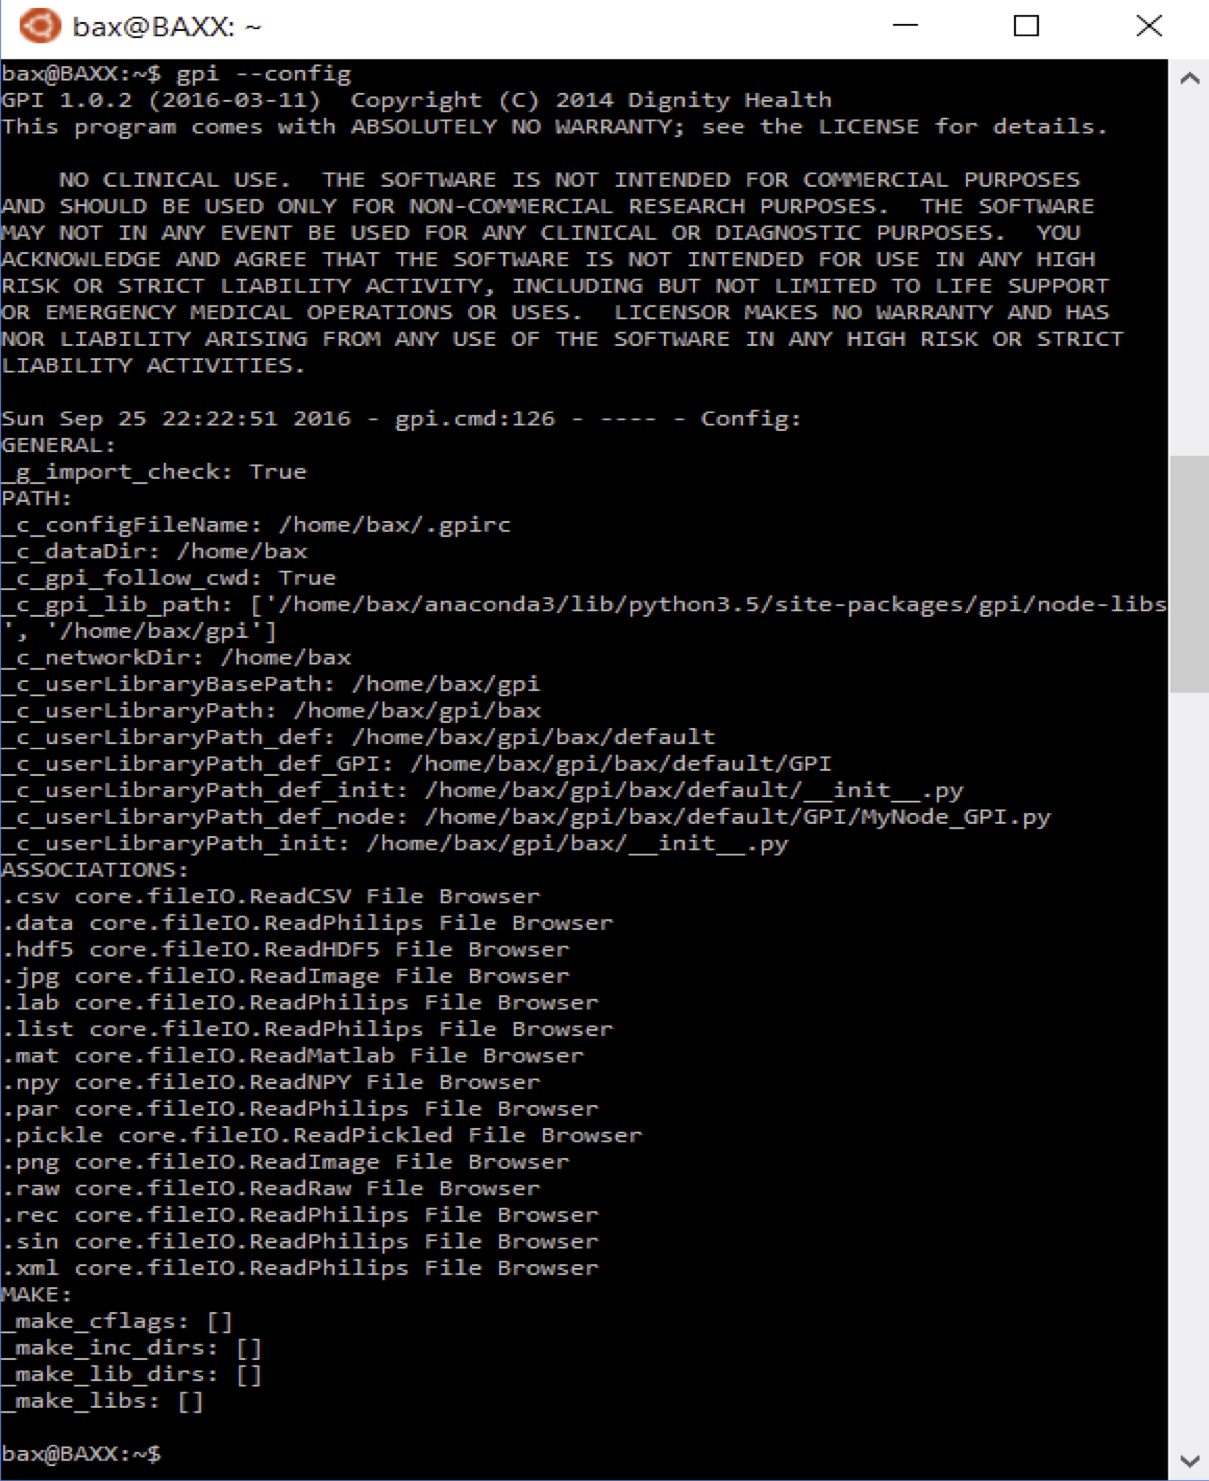
Check GPI config as shown here: http://docs.gpilab.com/en/develop/config.html
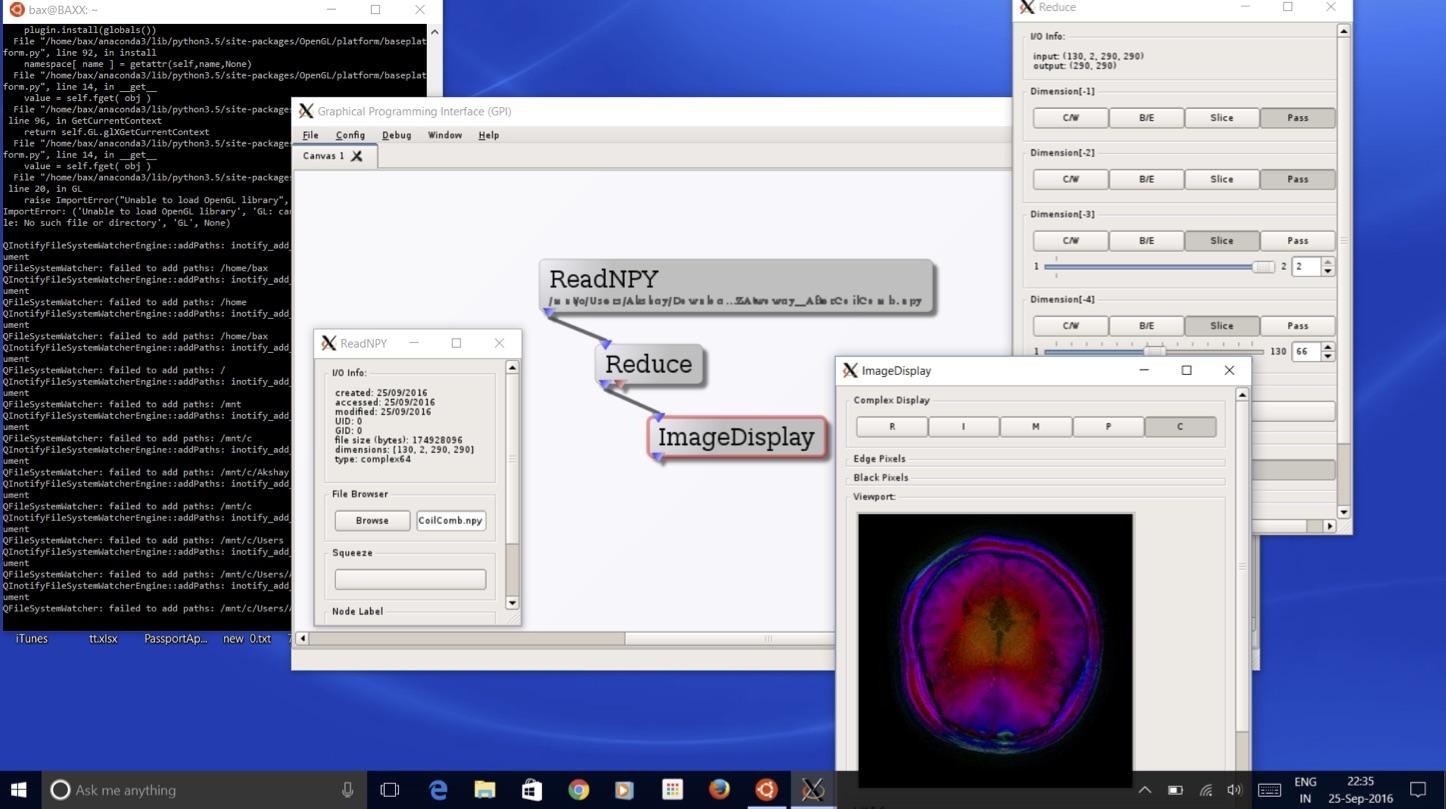
Launch the GPI GUI
export DISPLAY=:0
gpi

Troubleshooting
If you've encountered any bugs or issues during the installation or when running GPI, check out the issue tracker for potential solutions or help. If you have encountered any solutions to those problems or would like to share an issue that you've fixed, a post on the issue tracker would be much appreciated :).